Technical Articles
article current location: Home > Technical Articles
 Release time:2026-10-16
 page views:
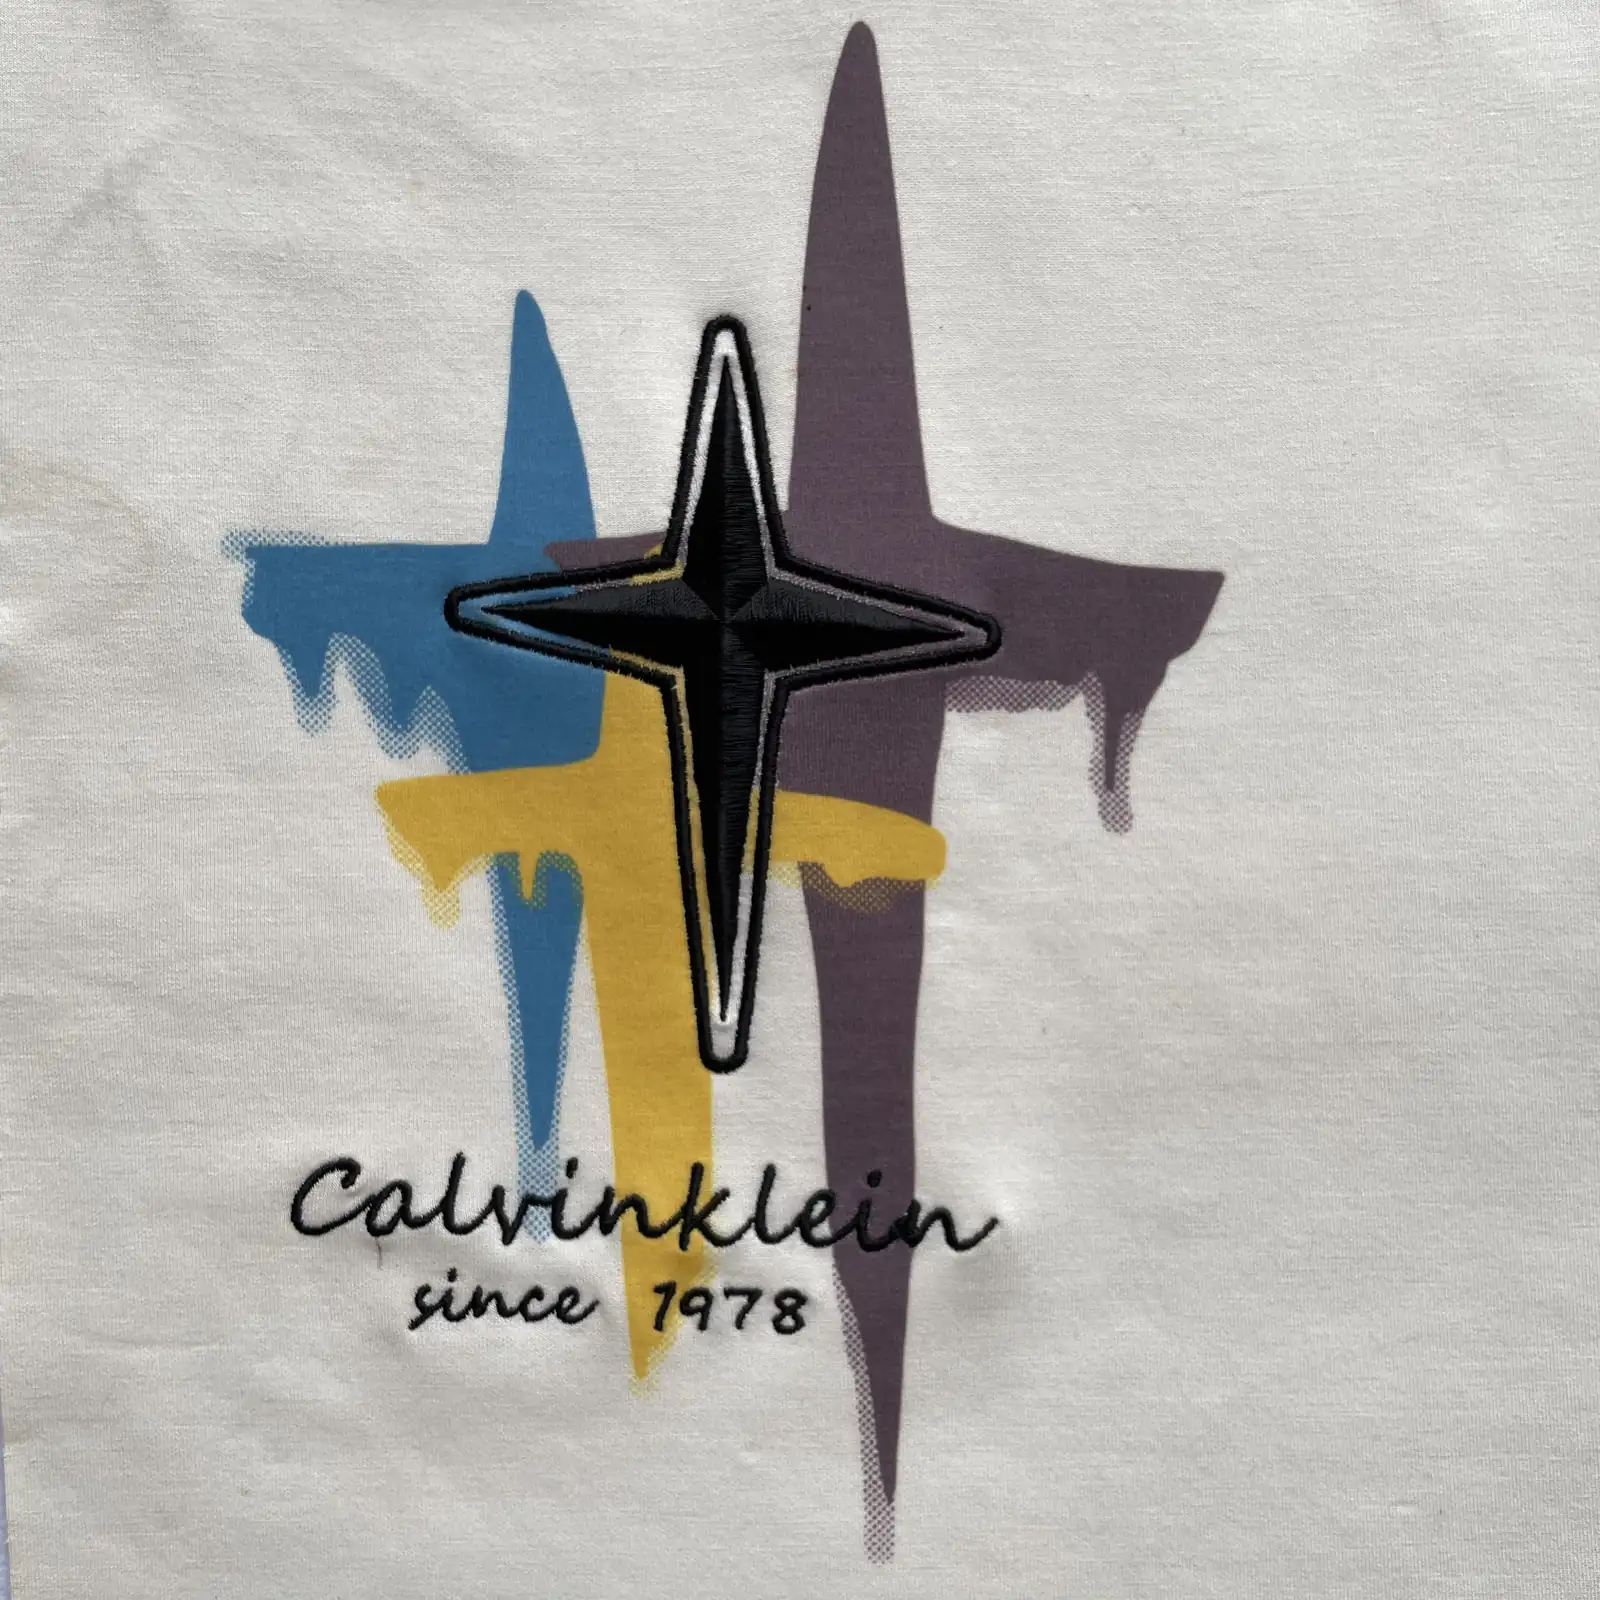
[Core Definition and Quick Selection] 3D puff embroidery (also called foam embroidery, 3D foam embroidery, or high-relief 3D embroidery; in English, 3D Puff Embroidery) is a relief embroidery technique in which high-density EVA foam is placed beneath the embroidery thread, fully covered with high-density stitching, and then trimmed along the outline. The finished piece has crisp edges, a firm and structured hand, clear shadow definition, and cleanly trimmed edges with no exposed white foam. Standard foam thickness is 2–4 mm. MOQ is 300 pcs; 3 simple samples are free; sampling takes 24–48 hours; bulk production takes 5–10 business days. It is suitable for baseball caps, heavyweight sweatshirts, team uniform badges, and bag labels.
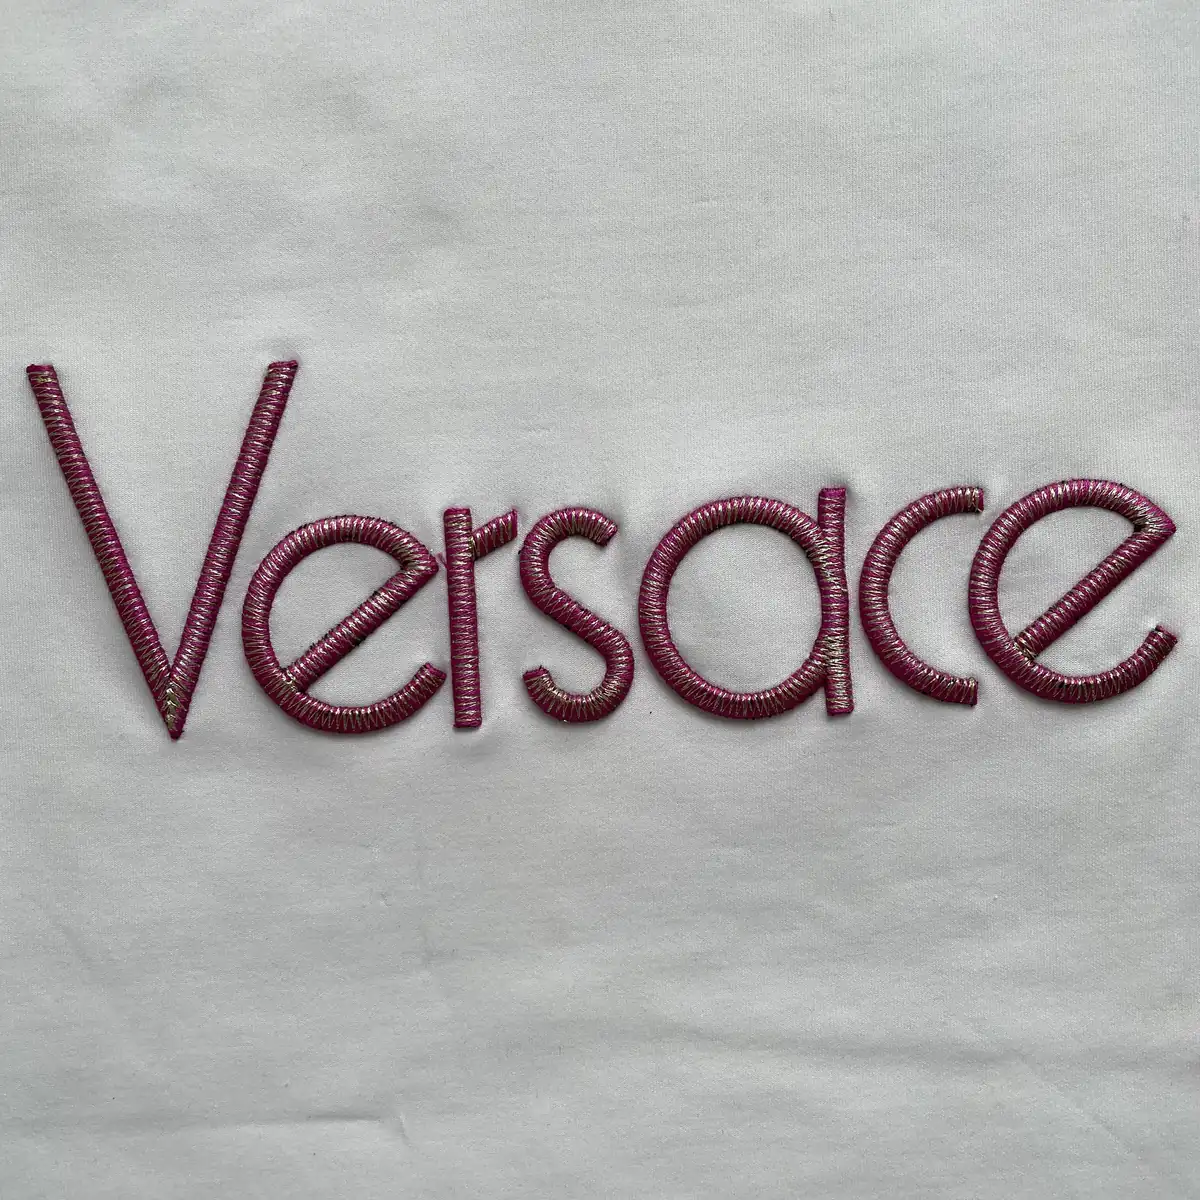
3D puff embroidery means the design itself is raised: a layer of foam is placed under the embroidery thread first, then dense stitching covers and fully encloses the foam, and finally the excess foam is trimmed cleanly along the outline. The finished design looks like a solid relief that has “grown” out of the fabric, with thickness, shadow, and crisp edges.
The essential difference between it and ordinary embroidery lies not in the thread but in “what is placed under the thread.” Flat embroidery stitches close to the fabric surface, so the design is flat; 3D puff embroidery adds a layer of foam that lifts the entire embroidery surface. Once this is understood, all of its advantages and limitations become clear.
Flat embroidery is “a flat design sitting on the fabric surface,” while 3D puff embroidery is “a solid relief raised from the fabric surface.”
In apparel sourcing and export discussions, the same 3D puff embroidery can have several trade names that are easy to confuse. See the comparison table below first:
| Common Trade Name | English Equivalent | Origin and Focus of the Name |
|---|---|---|
| 3D puff embroidery | 3D Puff Embroidery | The most widely used trade term; “Puff” is descriptive and refers to the foam underneath that lifts the embroidery surface. |
| Foam embroidery / puff embroidery | Foam Embroidery | Emphasizes the use of foam under the stitching; a term focused on the principle. |
| EVA 3D embroidery | EVA Embroidery | Named after the foam material; EVA foam is the most commonly used padding material. |
| High-relief 3D embroidery / thick-panel embroidery | Raised Embroidery | Emphasizes raised thickness and relief appearance; named after the finished form. |
Process Boundaries to Clarify (Don’t Let the Names Confuse You):
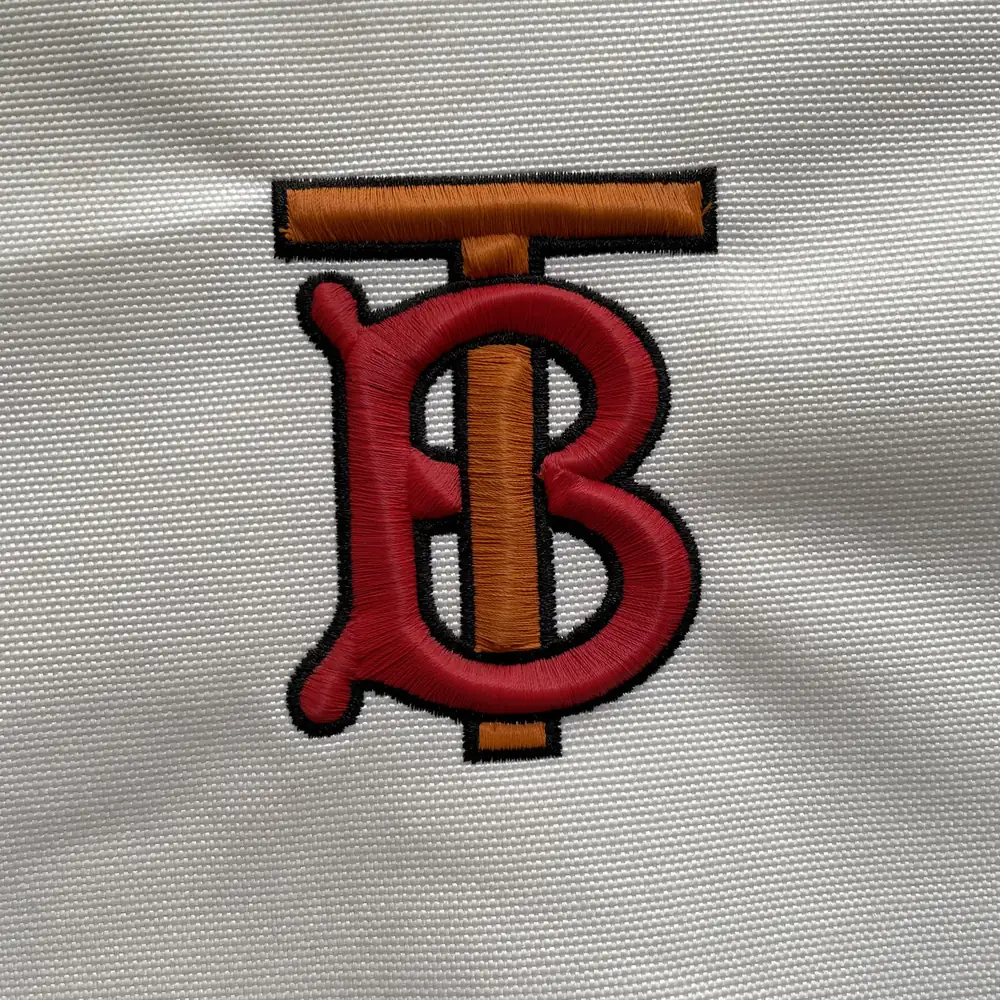
The formation of 3D puff embroidery is essentially a three-step process—“foam insertion—covering—trimming”—plus one critical finishing step. Dobest has engineered the machinery, stitching, and finishing as a complete system:
Three key points at the digitizing stage: High-density transverse cutting stitches are programmed at the start and end of each stroke so the needle cuts the foam before the covering stitches are sewn; covering stitches are sewn at an angle with increased density to help seal the foam on all sides; the foam color is matched to the same color family as the surface thread, so even a very small gap will not reveal a contrasting color underneath.
| Process control item | Standard capability | Design and engineering notes |
|---|---|---|
| Foam thickness options | 2.0 / 2.5 / 3.0 / 4.0 mm | Around 3 mm is commonly used on caps for balanced proportions; thicker foam gives stronger relief but increases trimming difficulty and care/washing risk. |
| Minimum stroke width | ≥ 4.0 mm | Below 2.5 mm, the needle tends to shred the narrow foam on both sides, so the motif loses support and collapses. |
| Minimum cap height for uppercase letters | ≥ 10 mm recommended | Strokes that are too thin cannot hold the foam; for small type and fine-line text we recommend switching to flat embroidery. |
| Cover-stitch density | Higher than standard flat embroidery | Insufficient density exposes the raw foam color at the sidewalls — the most common basic defect in this technique. |
| Maximum size per design | Standard 300 mm × 300 mm | Larger formats are assessed case by case against base-fabric strength and trimming difficulty; where needed, produce a standalone embroidered patch and sew it on. |
| Wash resistance and care | Gentle hand wash, or machine wash cold in a laundry bag; avoid high-temperature pressing | Foam may shrink or distort at high temperature; press at low temperature with a pressing cloth, and avoid prolonged heavy compression during packing and storage. |
Core advantages (Pros):
Process boundaries and physical limits (Cons):
Common garment placements and suggested sizes:
Recommended base fabrics: heavyweight fleece, structured cap-panel fabric, canvas, twill, wool, leather, microfiber; lightweight single jersey is not recommended for direct embroidery — make it as an embroidered patch and sew it onto the garment instead.
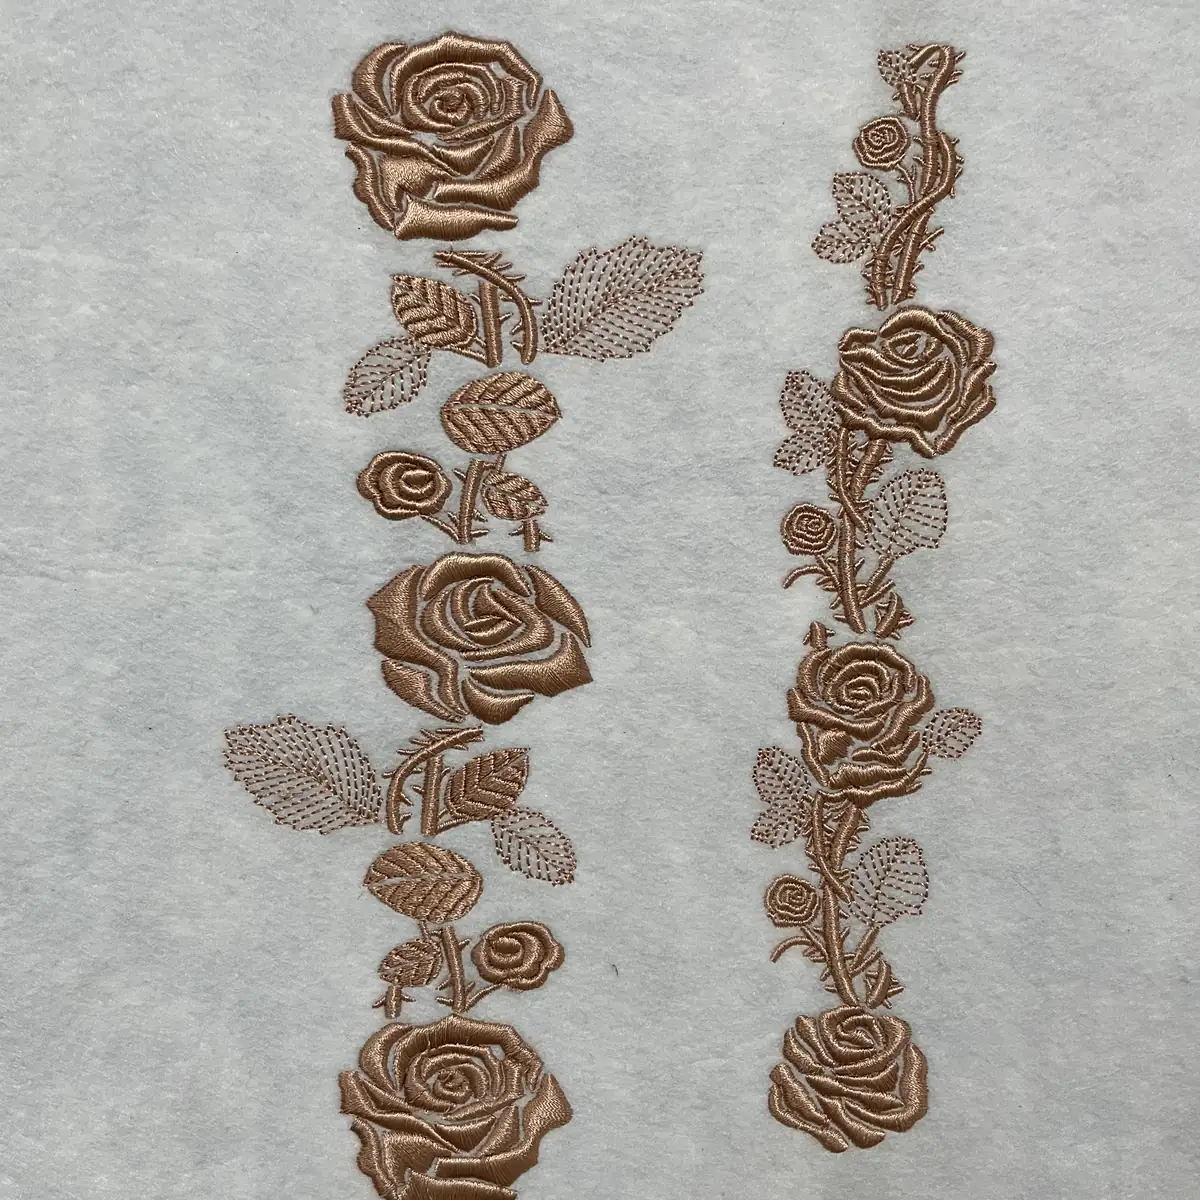
3D puff embroidery works on its own and is also often layered as the main element with other techniques; combined work is the typical form for these orders and demonstrates overall factory capability:
| Technique Category | 3D Form and Texture | Hand Feel | Minimum Line Width | Recommended Applications | Relative Cost |
|---|---|---|---|---|---|
| 3D embroidery | Solid raised form, well-defined edges | Firm and supportive | ≥ 4 mm | Baseball caps, team uniforms, streetwear sweatshirts | Medium-high |
| Toothbrush embroidery | Upright pile, soft 3D effect | Soft and elastic | Relatively fine | Children's wear, loungewear, lettering | Medium |
| Chenille embroidery | Fluffy loop pile | Soft and fluffy | Relatively coarse | Sweatshirts, towels, home textiles | Medium |
| Hollow 3D embroidery | Raised hollow cavity, open structure | Compressible and rebounds | Relatively coarse | Sportswear, lightweight garments | Medium-high |
| Flat embroidery | Flat surface application | Smooth and flat | Fine | General large-area designs | Low |
One-line mnemonic: For a firm cap badge, choose 3D embroidery; for a soft sweatshirt, choose toothbrush embroidery or chenille embroidery; for lightweight sportswear, choose hollow 3D embroidery.
Q1 | Can 3D embroidery be washed? Will it deform?
It can be washed gently. We recommend machine washing in a laundry bag at low temperature and avoiding high-temperature tumble drying and high-temperature ironing, as the foam may shrink and deform under high heat. Caps are usually washed less frequently, so this is less of a concern; for garments, we recommend reminding end users to avoid high-temperature pressing and to use a pressing cloth at low temperature when ironing.
Q2 | Can 3D embroidery be applied directly to thin T-shirts?
Direct embroidery is not recommended. The combined weight and tension of the foam and thread in 3D embroidery are relatively high, and lightweight single jersey can be pulled down and wrinkled. We recommend making a separate embroidered patch and then sewing it onto the garment, or using a lighter 3D option.
Q3 | Can very small letters or thin lines be done in 3D embroidery?
Not recommended. When stroke width is below 2.5 mm, the needle will cut through the narrow foam on both sides, causing loss of support and collapse. For thin lines and small text, flat embroidery is recommended; 3D embroidery is more suitable for letters and graphics with a certain thickness.
Q4 | Will the foam show?
Under normal conditions, this should not happen. The trimming process cuts the foam cleanly along the pattern edges, and with a pattern-making strategy that matches foam and thread within the same color family, the edges remain clean without white showing. If the design has very fine sharp corners or thin lines, we will recommend rounding the sharp corners during sampling.
Q5 | Which has a stronger 3D effect, 3D embroidery or toothbrush embroidery?
Visually, 3D embroidery is thicker, more solid, and firmer because of the foam underneath; toothbrush embroidery is more velvety, softer, and more upright. Choose 3D embroidery for a crisp relief effect, and toothbrush embroidery for a soft pile 3D effect.
Dongguan Dobest Industrial Co., Ltd. (Dobest) was founded in 2013 and specializes in the R&D and manufacturing of specialty computerized embroidery. It has a modern 3,000 ㎡ production workshop and more than 30 specialty embroidery computerized machines. The company has passed Disney ILS and adidas SEA factory audits for international brands, has received an A-level taxpayer credit rating for four consecutive years, and supports customization from drawings and samples as well as R&D for highly complex combined techniques.
Service hotline / WeChat: 13712297700|Official website: dobest.hk|Submit a sampling request online
We can visit customers in Dongguan, Shenzhen, Foshan (including Shunde), Zhongshan, Guangzhou, Zhuhai, Huizhou, Jiangmen and other Pearl River Delta cities. For Guangzhou's urban districts and surrounding areas (Haizhu, Liwan, Tianhe, Baiyun, Huangpu, Panyu, Huadu, Nansha, Conghua, Zengcheng) and Dongguan's local towns and subdistricts (Humen, Houjie, Chang'an, Dalang, Changping, Dalingshan, Shipai, Chashan, Tangxia, Liaobu, Dongcheng, Nancheng, Wanjiang and others), we can typically arrive within half a day to discuss your project and review samples.

Hotline / WeChat:
137-1229-7700 2/F, Bldg E, Jinmao Xincheng, No.7 Jiedong South Rd, Xiaojiejiao, Humen, Dongguan, Guangdong, China Phone: 0769-81517903
 mclau@dobest.hk
Hotline:
13712297700
0769-81517903